
Ten dreamy colors for lips and nails available at Designer Circle. Lipstick appliers for Catwa, Lelutka, Omega and tattoo layer for system heads. Nail appliers for Belleza, Maitreya, Omega and Slink.
Ten dreamy colors for lips and nails available at Designer Circle. Lipstick appliers for Catwa, Lelutka, Omega and tattoo layer for system heads. Nail appliers for Belleza, Maitreya, Omega and Slink.
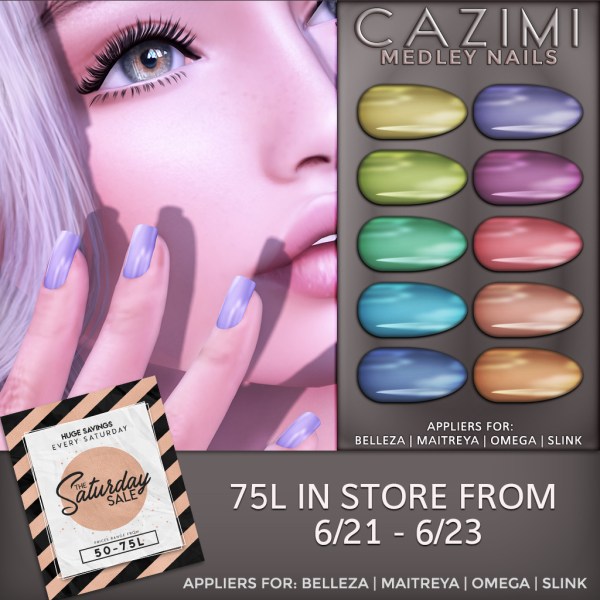
I will be going away for the weekend, leaving early Saturday morning and returning late Sunday. Enjoy the sales while I am gone! They will be up all weekend (I take them down when I log in Monday) at the main store. You can find them to the left of the front desk, in front of the window.
Have a great weekend everyone!


The VIP group gift for June is here! VIP members receive a monthly gift plus 5% cash back on all regular in store purchases. To join visit the main store and click on the VIP sign. One time 250L join fee. We currently have over 15 VIP only gifts available. Make sure you click on the 2018 VIP Gifts sign to get last year’s items!
We’ve added more blogger spots!
We are currently seeking bloggers with an emphasis on covering appliers. This means clear shots in which nails, lipstick, eye shadow, lashes, eyes, etc. can be seen in the photo.
Interested? More info here

Every now and then I post about various topics from the perspective of a designer in my “Designer Chatter” series. If you would like to submit a question or topic for a future post feel free to use my contact page. Are you a designer and want to weigh in on the topic? Link back here so others can join in!
Today I was making the above photo and decided my next topic should be on how to make pretty Second Life photos. Who doesn’t like that?
Hooo boy this is a big topic! There are so many great resources for how to setup your shot, lighting, and editing your final photo so I will be referring you to tons of links! I will try to cover the basics here, because it’s simply too large a topic to cover in one blog post, but this should at least get you started.
Keep in mind there are many different ways to do this, it really all comes down to what works for you. So try different things and learn as much as you can.
Disclaimer: I use Firestorm viewer and Photoshop, so my resources will mostly refer to these tools. I am also going to assume that you have already chosen what to wear and what will be in your background.
The absolute number one first thing you must know is how to use your camera. The biggest mistake I see photographers make is the ‘fish eye’ effect in their close ups.
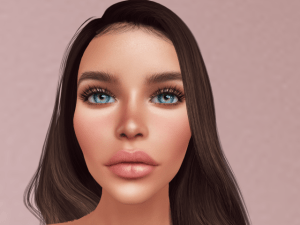
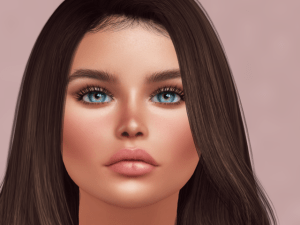 The left photo uses standard camera zoom which causes distortion. Notice how the face looks elongated and the lips, nose and eyes look big? The Right photo uses CTRL + 0 to zoom in and has no lens distortion.
From zoomed out hold ATL and click on what you want your camera to focus on. Hit CTRL + 0 to zoom in till you’re happy with it. Use CTRL + 8 to zoom out and CTRL + 9 to exit back to normal camera control.
Lighting is a huge topic, so I will be referring to several videos on this subject. They key points to understand are that lighting is what gives your picture depth and realism. It will add or remove shadows, highlight, shine, color and texture. The two main ways of manipulating lighting (in Second Life) is by changing your Windlights which changes the lighting for the entire world around you, or by using light boxes/projectors similar to how a real photographer would place real lights.
So you’ve got your perfect raw shot, now what? Here is the before and after for the photo I did today. As you can see there is a lot of work you can do to enhance your photo and add various effects.
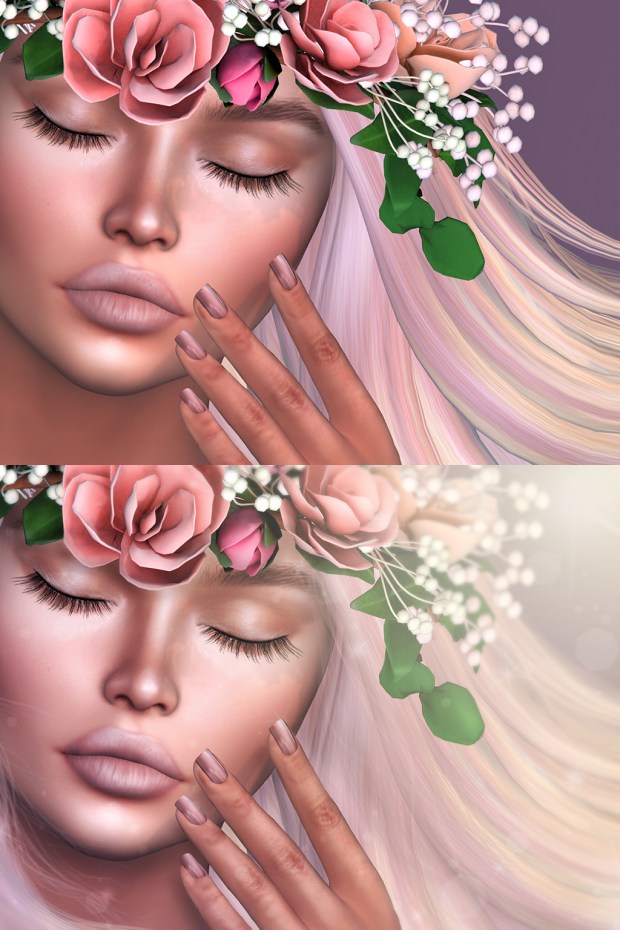
One of first thing I like to do is to work on enhancing the shadows and highlights of the photo. I use a little trick I picked up in a non Second Life tutorial a long time ago (unfortunately I cannot recall the video to link to, sorry). I add a new layer of pure medium gray and set it to overlay. I then use the dodge and burn tools on this layer to work in shadows and highlights. Next I add a clear layer and paint on some soft shadows with black and lower the opacity till I get the look I want. This allows me to edit the look without making changes to the raw photo. You can experiment with this to see if it works well for you.
These tutorials use similar techniques for shadows and highlights:
Or you may want to add lense flair, sparkles, rian or other effects. These tutorials are really handy:
There are SO MANY great brushes, overlays, styles, gradients, etc. I could never list them all. Just be sure you are using resources with the correct licensing. So if you sell your photos or use them for ads be sure your resource is licensed for commercial work. If you just make photos for personal use then most resources should be right for you.
Hopefully this helps get your started on your journey to lovely photos. Good luck!

On sale all weekend, starting today, the Shara Brows for Saturday Sale. Available in the main store. Ten natural colors including a tintable white. Appliers for Catwa, Lelutka and Omega plus tattoo layers for system bodies.

